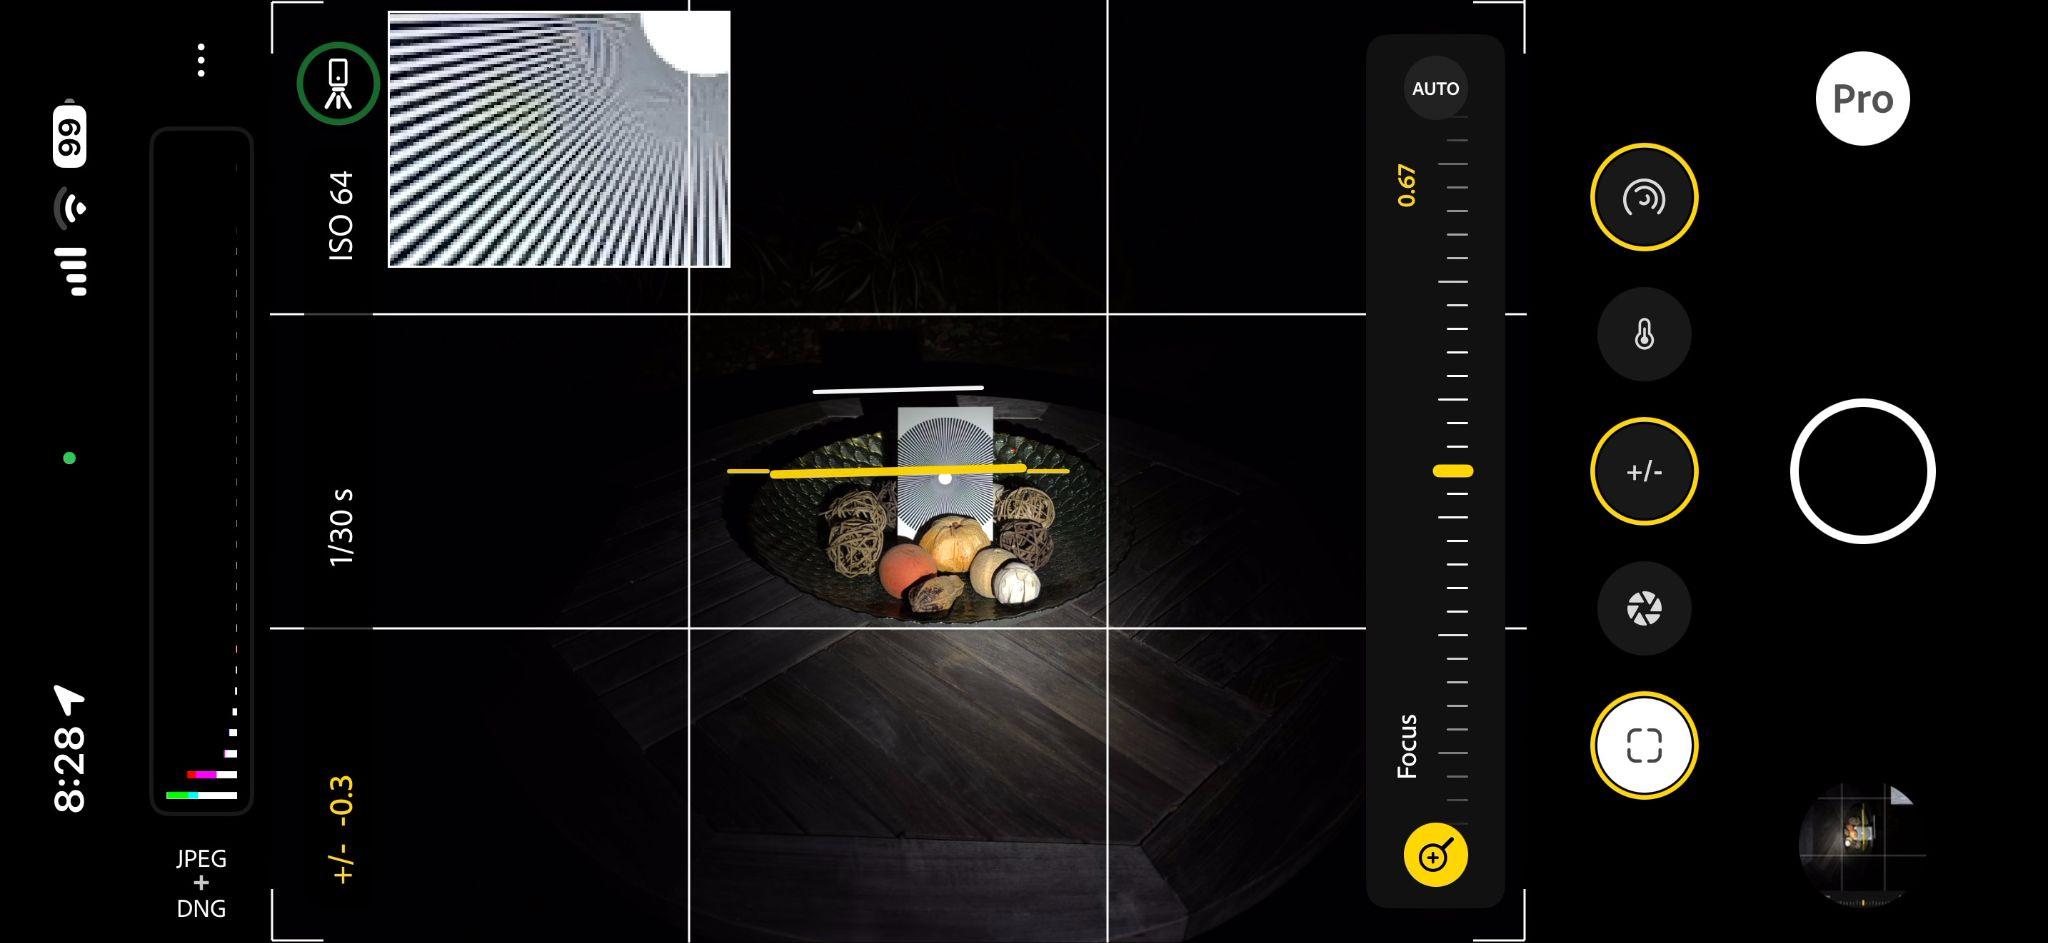
Manually focusing the phone camera can be a bit tricky in low light situations, for example, when you take pictures of burning steel wool, or when you light-paint outdoors. Indigo’s focus Pro Control includes a viewfinder loupe. After tapping the 🔍 button on the left side of the focus slider, a magnified view of the middle of the viewfinder appears in the upper right corner. Tapping inside the viewfinder changes what part of the image is magnified by the loupe. To focus the lens, move the focus slider until what you see in the loupe looks sharp.
When the scene in front of the camera is dark, you may find it difficult to precisely determine the best focus setting using this loupe; there’s a range of values where the loupe looks about the same. Shining a flashlight on the part of the scene that you want to focus on often helps. Using a focusing test pattern works even better. Download a Siemens Star image like the one shown here, and print it on 4 by 6 inch (10 by 15 cm) photo paper. If you like, glue the print onto a piece of cardboard to help it stay flat.
Place the star in the scene in front of the camera, at the spot you want to focus on; if your picture includes a person, have them hold the star next to their face. Shine a flashlight on the star, and point the loupe at it by tapping on the viewfinder. Now move the focus slider until the inner part of the star shows a shimmering moiré pattern. Find the slider position that maximizes the shimmering. This is the optimal focus position. Here’s what the viewfinder loupe looks when the Siemens star is very slightly out of focus. Note that the black and white rays merge into a smooth, uniform gray.
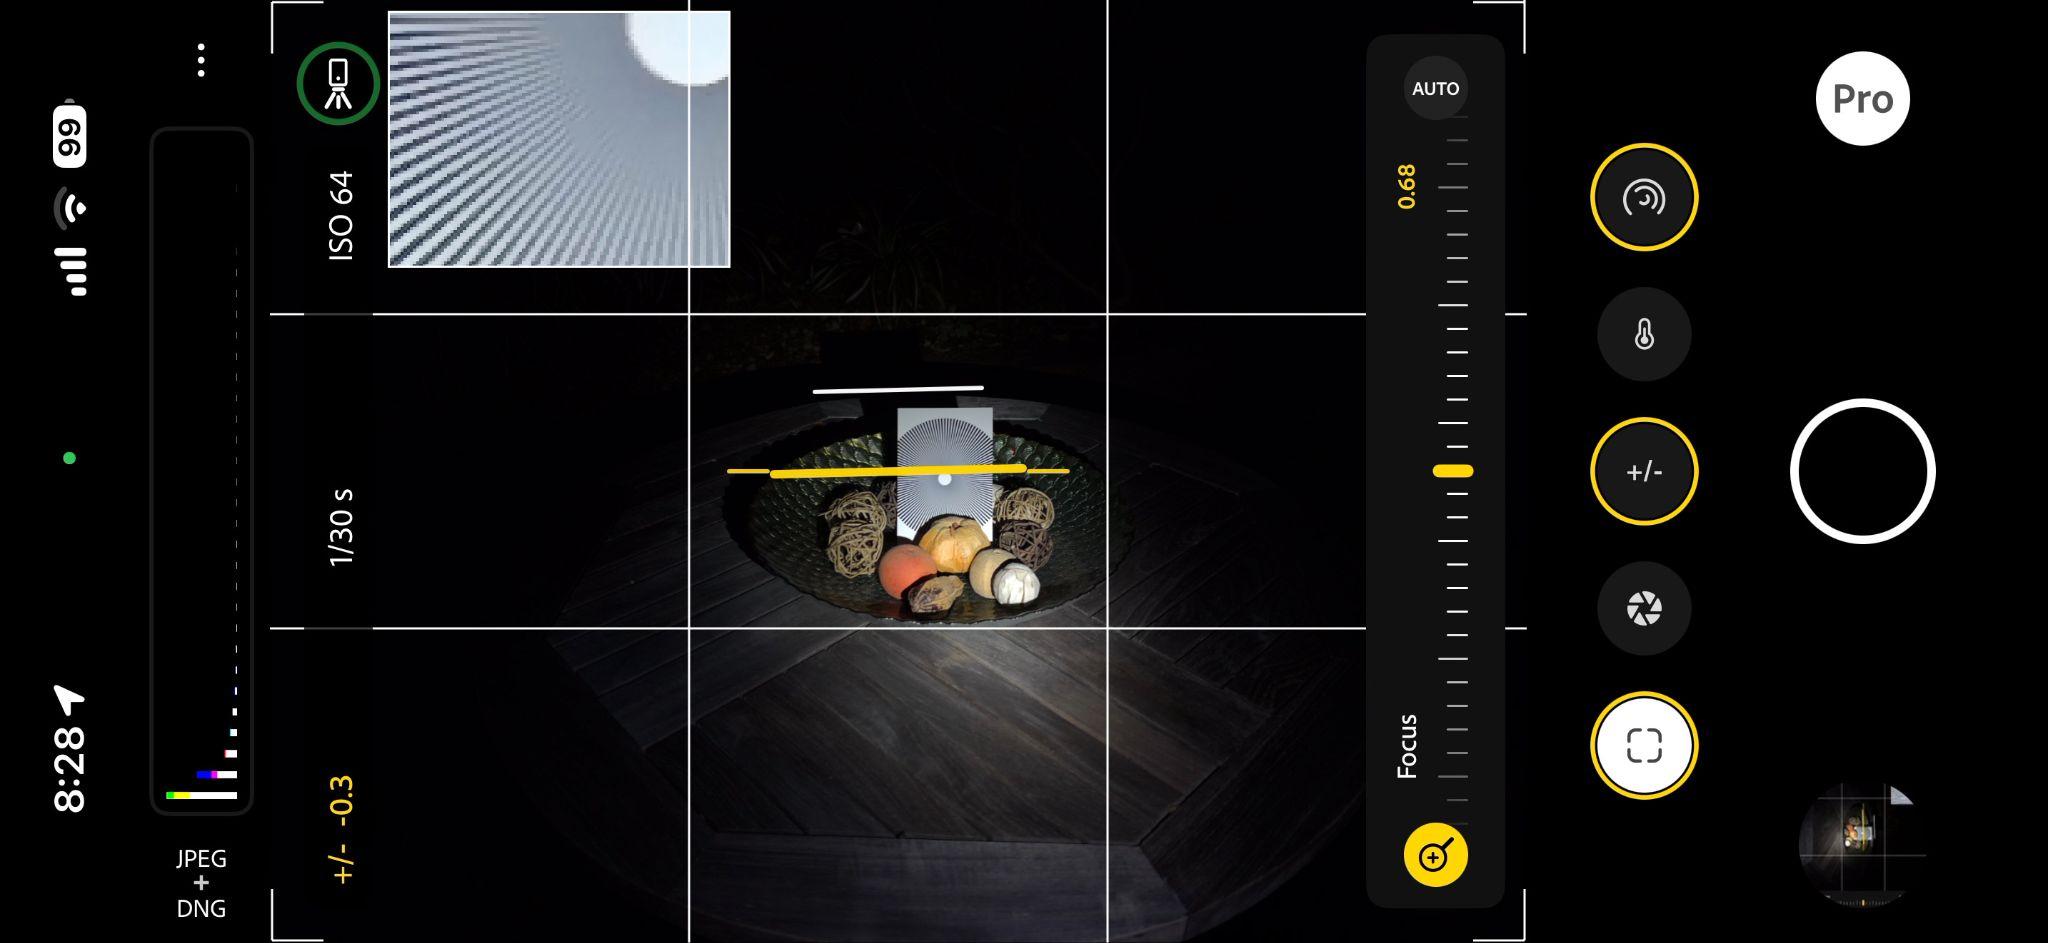
And this is what it looks like when it is in focus. Instead of forming a uniformly gray area, the merging black and white rays create a shimmering pattern that changes if the phone moves even a very small amount.